If you are launching your first ecommerce store or uploading the first batch of goods on Etsy, you may wonder whether you should hire a professional photographer or you can do it yourself. The good news is that yes, you can do it, so let’s just do it (no hidden Nike ad, just a pun). To open the online shop and have the first sales, the carefully created DIY images will do nicely. When you get the wheels spinning and the money coming in steadily, you can look critically at what you have and decide if you need it redone. But since that happy time hasn’t come yet, let’s get down to work. Whether you do it at your home with the tools available, or whether it happens at a professional product photography studio in LA (or anywhere else), the process and the steps are the same.
Pre-production
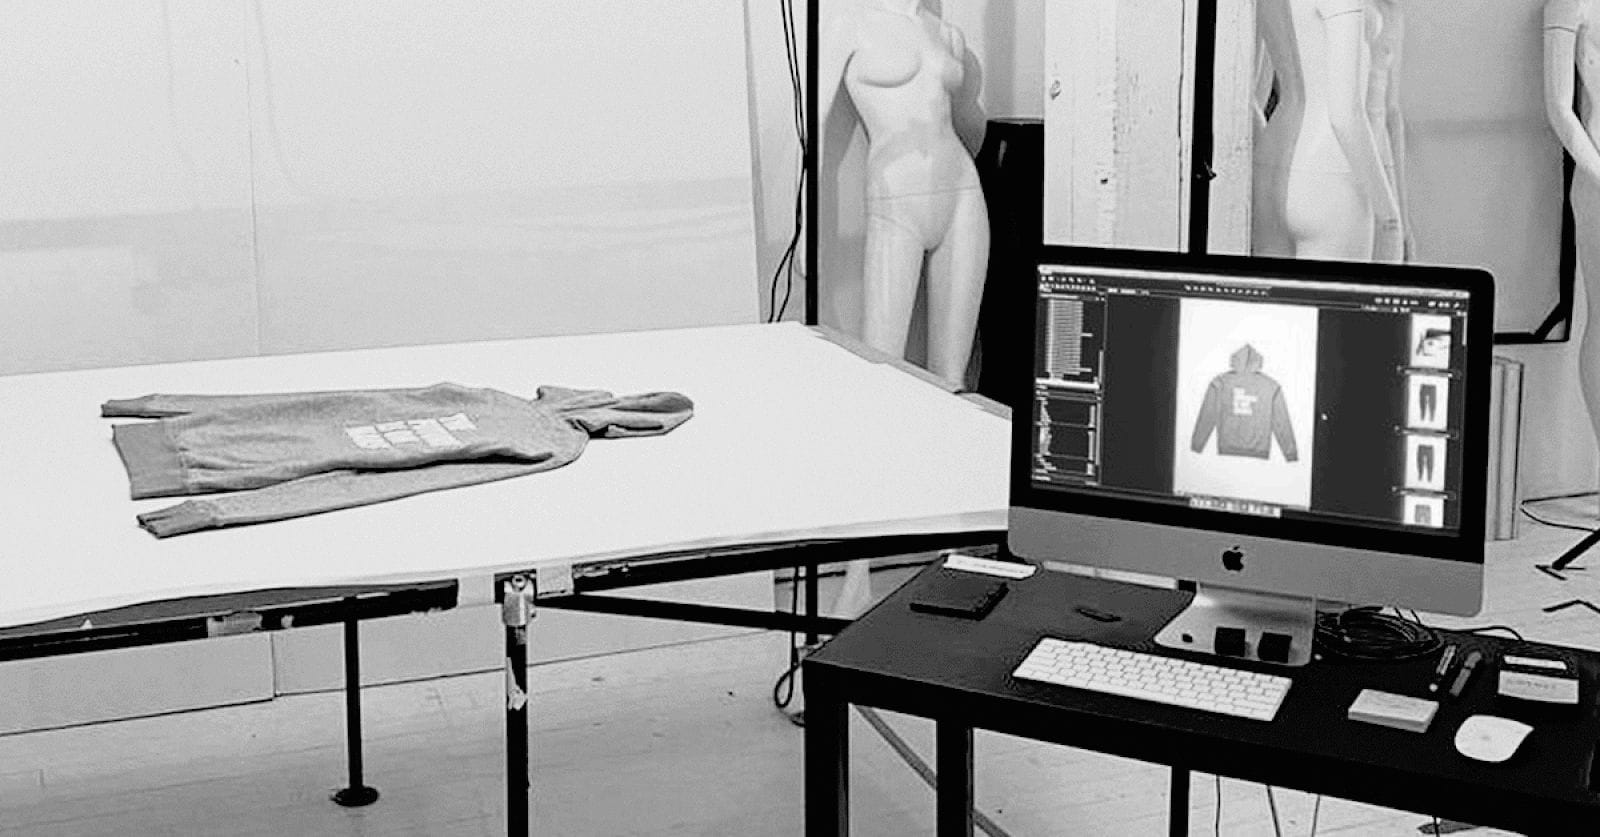
Before you push the button on the camera, you have some work to do. You need to prepare the settings, the light, and the product. We mean, move the table to the window, position your background and place the reflecting boards strategically. Add the lighting fixtures, if necessary. Clean the camera lenses, position the tripod. Prepare the product removing the creases, dust, stains etc so you’re ready to go.
As you do it, you may see that you lack some essential items, like a white background sweep or a tripod, so you’ll have to use what you have and go shopping later.
Now about styling the product (at least, how we do it at our product photography studio in LA). First, please, do not clutter the space. Shoot one product at a time. The exception is cosmetics products, where you can arrange the same type of products of different colors (like lipsticks) in a line and shoot them as a whole. But this is the only exception. One image – one product. Yes, even in lifestyle (in-use) product pictures there is one product and the complementing props.
Second, if in doubt, use a pure white background. It makes for nice clean photos and matches the requirement of big online shops like Amazon if you plan to submit your pics there.
Production
Decide on the number of pictures you need. More images — better.
Shoot the product from various angles, from the top and the bottom. Don’t forget to provide close-ups of important details too. Make high-resolution pictures of seams, inscriptions, buttons, small parts, textures, and so on.
Make sure the flash is off and every detail is seen clearly. Set the highest resolution possible. You can compress the picture safely, but you cannot enlarge low-res photos without making them look bad. For the same reason, do not zoom in digitally. Take the camera (or move a tripod) close to the product and shoot from the smallest distance possible.
Post-production: the important note from the product photography studio in LA
Even if you have done everything right, the post-production still won’t be easy because every single product has some flaws such as scratches, dust, creases etc. By post-production, we mean applying software solutions to the images to make them more sharp, smooth, bright or otherwise enhanced. You can use Photoshop or simple filter-like apps, it’s up to you. During the shoot, aim to do the best you can, as if editing did not exist.
When doing post-production, be careful not to distort the product characteristics, like color and texture. Remove reflections, add sharpness to inscriptions if they get slightly blurred, but keep the tampering minimal. It will be better for the product, for your happy customers, and you as a reputable seller.
Think a good studio will do it all ultimately better? We at the product photography studio in LA always welcome you, and our expertise and prices will nicely surprise you.