Cladding, or siding, is the outer coat of your home. It helps to keep it warm, reduces your energy bills, and can protect the inner walls of your home. In addition, cladding generally looks good and is easy to maintain. That’s why it’s so popular.
But, even cladding has its limits. Over time it can deteriorate or become damaged. This will lead to water getting in behind the cladding, potentially damaging your house.
The longer it’s left the greater the amount of damage to your home, that’s why you need to know the signs of leaky cladding and how to fix leaky cladding.
How To Spot Leaking Cladding
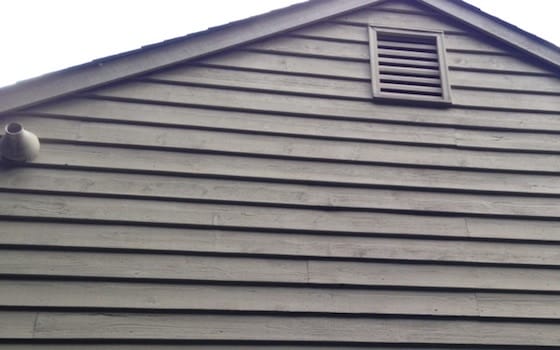
There are several signs of leaky cladding, the first thing you need to do is visually inspect your cladding. Damaged cladding will leak.
The most likely places for damage to occur is around windows and doors, at the base of your walls, and where different materials join together. You’ll need to pay particular attention to where any balconies, decking platforms, or parapets are joined. If the flashing hasn’t been done properly you’re highly likely to have a leak.
If you see sections of cladding that are swollen or inner walls that appear damp or swollen, then you have a cladding leak. You may also notice a musty smell, mold, or even see fittings and accessories corroding, particularly those in the wall.
Visually inspecting your home on a regular basis will help you to spot cladding leaks sooner, rather than later.
Steps To Fix Leaky Cladding
Now that you’ve found leaky cladding you’re going to need to fix it.
- Identify the leak
The first step is to speak to a professional vinyl cladding supplier. You’ll be needing some new cladding that matches what’s on your house unless you’re planning on removing all the cladding and starting again.
- Get The Right Tool
It’s also advisable to get a special tool for removing cladding, although a flat pry bar and a hammer can be used.
- Deal with the issue
The key to fixing leaky cladding isn’t in removing the cladding, it’s in finding out where the leak is coming from. This is usually a combination of two things, such as a blocked gutter causing an overflow which has damaged the cladding or the sealant in the join.
- Removing cladding
In this instance, you’ll need to remove the damaged cladding panels by sliding the pry bar or special tool underneath and pulling away from the wall.
It is easiest to do this if you start at a join line as cladding interlocks.
- Replacing Cladding
You can then clear the gutter, put new cladding pieces up, and add flashing or sealant to cover the joints. This should stop any water from getting in behind the cladding and causing you problems in your home.
However, it is important to ensure your property has been built to code and that the cladding is up to the job. It is possible for cladding to leak for years and not be detected. This can result in a huge repair bill. With that in mind, it’s worth having regular moisture tests, renewing all sealant and flashing, and even removing the odd piece of cladding to check for water damage.